
 Basic Supplies:
Frame
Seashells ~ assorted types and sizes
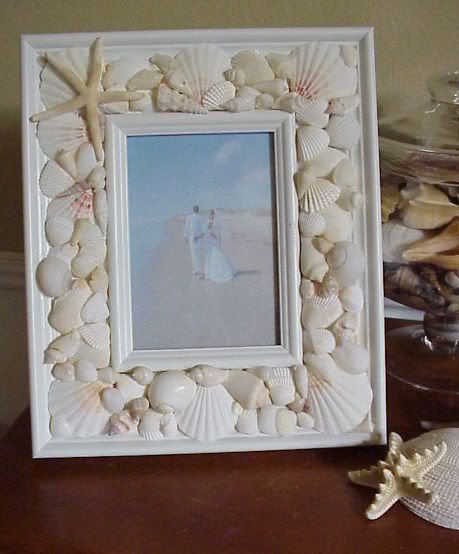
Focal ~ in this project I used a Star fish
Adhesive ~ you can use glue stick or any adhesive that will dry clear. For this project I used industrial strength E6000. You can find it online and at most hobby or hardware stores.
Plastic disposable gloves
Primer ~ Spray or brush on
Paint ~ Spray or bush on
Dust Mask
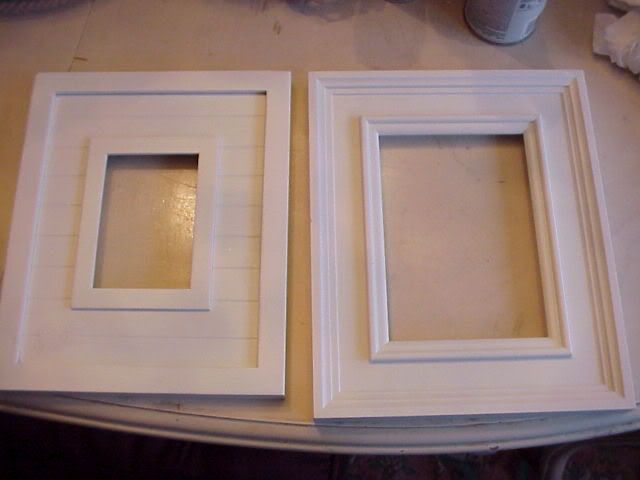
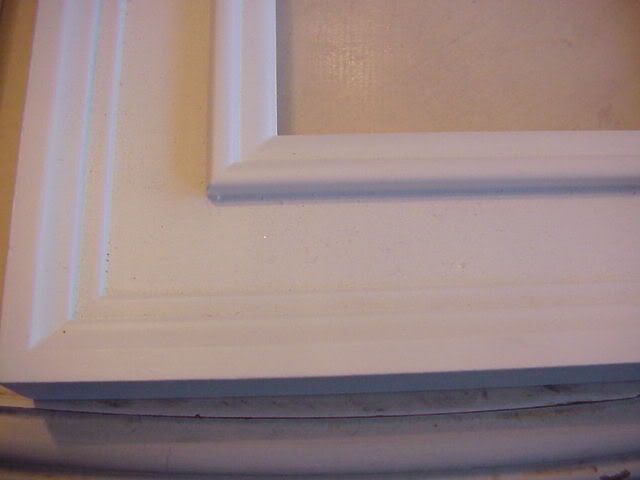
This works for any type of frame, be it for photos, mirror, or black/chalk board, as long as you have ample room for the shells. I tend to look for frames with ample recessed areas for a more polished look.
I used an assortment of seashells .

I wanted a beachy white cottage theme with only a hint of color. I bought the bag of assorted mix shells (about $7.00) at Michaels with my 40% off coupon.

I primed and painted the frame. Once everything was dry, I laid out some of the shell to get a "feel" for the design and to make sure the shells I wanted to use would work. For this project, I wanted a more flowing, carefree layout...almost as if I just tossed them onto the frame.
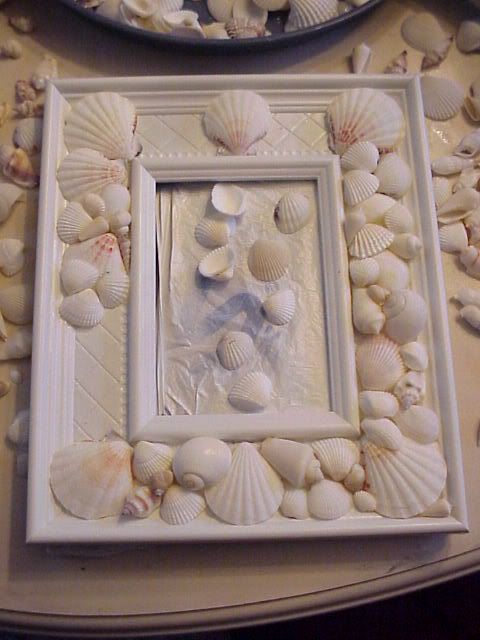
Once satisified, I began gluing the shells in place.

I used the larger shells first and filled in with the smaller shells.
You can use glue stick for faster resutls. I used industrial strength E6000. It's a bit smelly, so make sure you wear a dust mask and are working in a well ventilated area.
You can find a more thorough tutorial on my How To blog here, or just chick the How To's button under my blog header. If you have any questions, feel free to email me anytime!
A quick giveaway note: In celebration of her 1st Blogiversary, Cathy @ The Stylish House is having fabulous giveaway...$200.00 gift certificate to Pottery Barn!

For details visit Cathy @ The Stylish House .
I am linking this post with the following fabulous hosts:
Lori @ Life as Lori ~ Get Your Craft On Thurs. #3
Gina @ The Shabby Chic Cottage ~ Transformation Thursday
Susan @ BNOP ~ 56th Metamorphosis Monday
Cheers!

14 comments:
Great project. I love the beach theme. These came out really nice.
This is just beautiful..I love it.
That turned out awesomely also, honey. Talented gal!
xoxo,
Connie
This is a really pretty project! I have a photo from a cruise we took that would be perfect in a frame like this. Thanks!~Patti
Gorgeous, Tina. Absolutely gorgeous. You are very talented. Sincerely, Susan from writingstraightfromtheheart.blogspot.com
It's beautiful, Tina. It looks like a frame out of a high-end boutique! Although, don't think you'd like to mass produce those, would you? Ha!
Oh Tina, that is just gorgeous. What a great job my friend. I love the look, Char
Oh my gosh! I love those frames! They look wonderful! Thank you for signing up to follow my blog:) I am already a follower of your stunning blog. :)
Sandra
That is so NEAT. I love it.
This turned out great!!! We go to the beach all the time, so i can get some shells there and do this for our beach place...
Oh btw I love the shell tassel... I'm going back to your shop after I post this.. I love tassels and you do such a great job...
I click return instead of enter... sorry...
I also ment to thank you for joining my party "get your craft on thurs." Please join me next week.
Hi Tina !
I love this frame - it is the nicest sea shell frame I have ever seen - I do love how it looks framed all around - great job !
Kammy
Lovely frames, you are so talented, not only with your handcrafts but also as a teacher via tutorial. Thank you so much for sharing and also your visit for P.S.
Beautiful frame, ♥ it!
Post a Comment