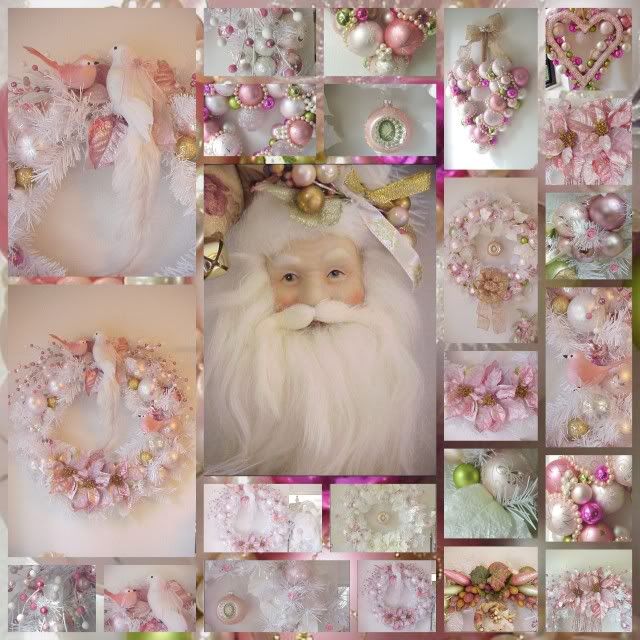
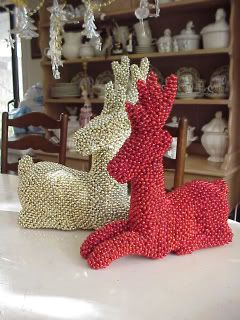
Welcome! So happy you dropped by! Let's start with the before and after...
Making a beaded reindeer is not complicated at all. What you need most of is time, patience, and lots of glue gun sticks! ha!
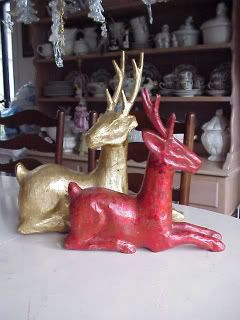
I bought several paper mache reindeer at Michael's at last year's christmas sale...70% off woohoo! Here is the BEFORE....

Now, if you get the regular "brown" paper mache (unfinished) reindeer, you should spray paint it as close to your beads color as possible...unless you want to go for something art deco.
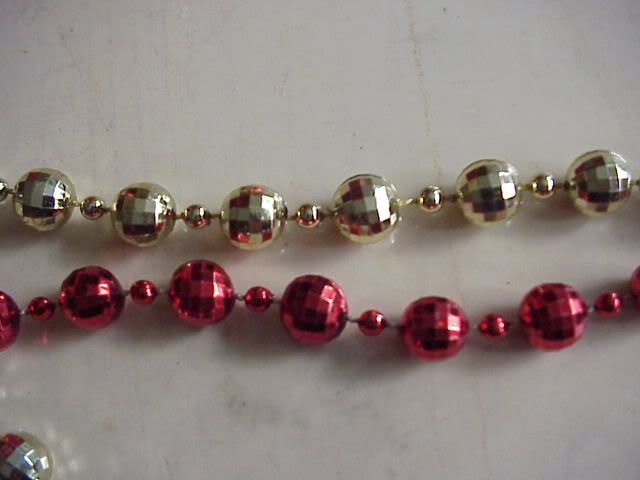
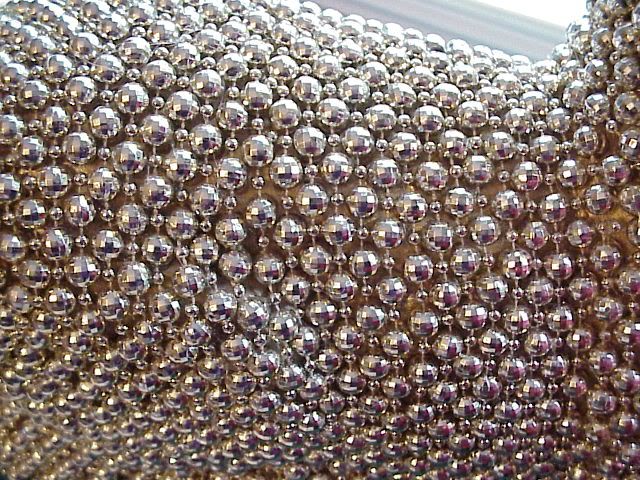
Next, you need your beaded garland, lots of em! I used a dozen packs of 10mm x 18ft (which I also bought at a few years ago at Hobby Lobby's Christmas holiday sale for 75% off). I prefer the faceted beads because they really catch the light (the dimmer the light, the more they twinkle!)
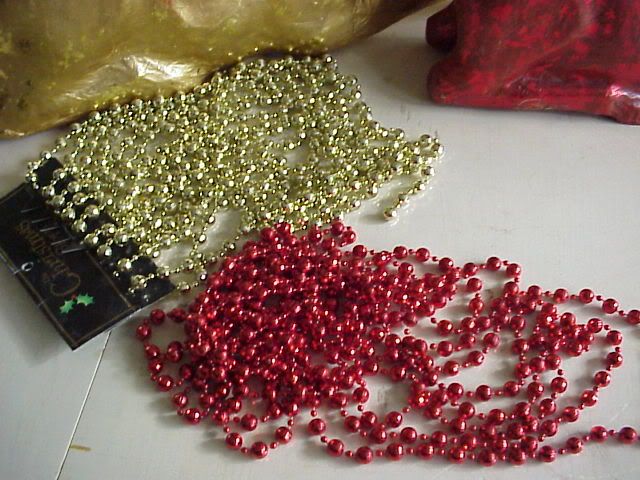
I also prefer using these beads because they have the smaller bead in between each faceted bead; helps to make nice, tight, rows.
I start wrapping the beaded garland right at the bottom of the neck and work my way to the back, then go up the neck or do the legs; be sure to always start where the beads are so that it has a seamless appearance. Make sure your first string is straight....
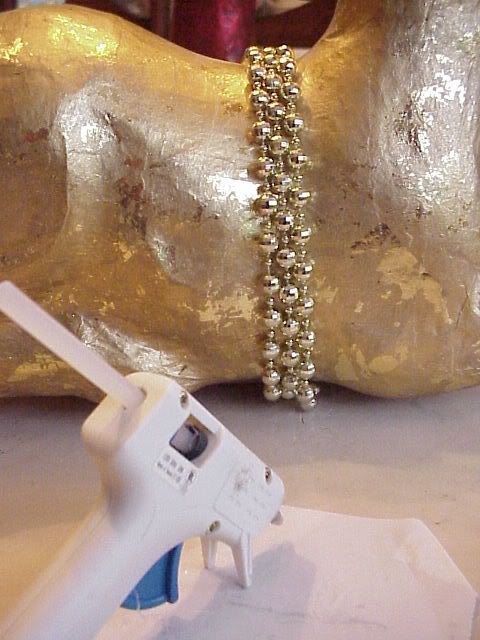
and off set the 10mm beads so the sit close to the previous strand...

Continue to glue and wrap...and glue and wrap, and glue and wrap, and glue and wrap and glue....and on and on.......and on....
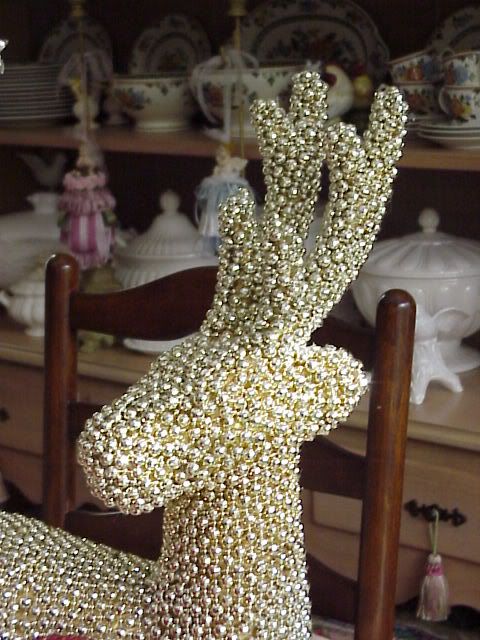
I like to do the antlers as well; give the reindeer a more uniformed, balanced look...
You can cut shorter strips of beads where you need it. It doesn't really show any direction when you are finished...
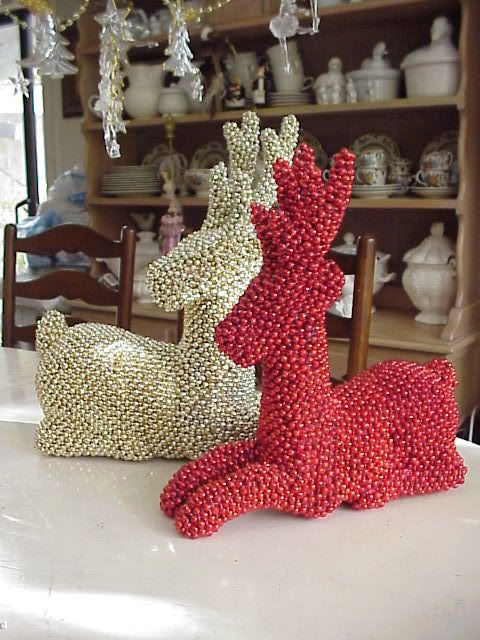
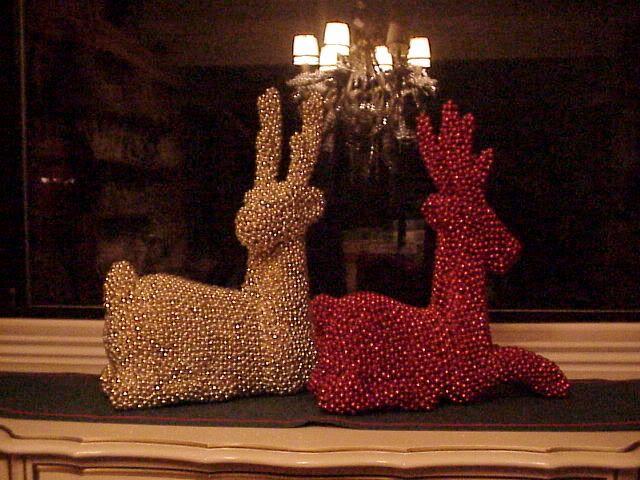
When you are (finally) finished gluing and wrapping, this is what you can expect your finished reindeer to look like...
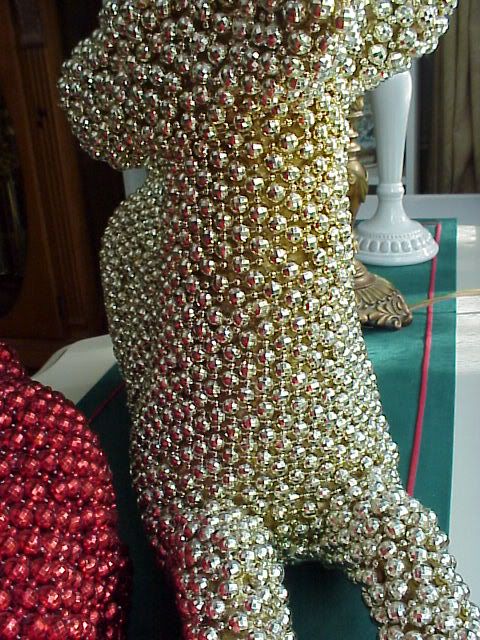
...a rear view....
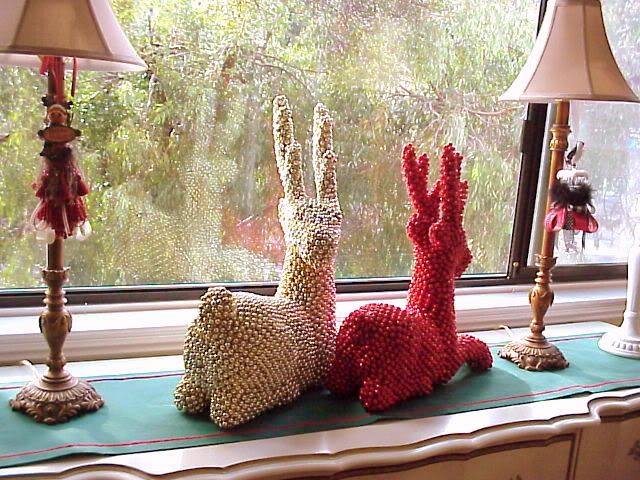
(the gold reindeer looks as though it is saying..."do these beads make my butt look big?!) ha!
Now, remember I said the faceted beads really sparkle in dim light...my crappy camera did the best it could...but here are a few photos. First a daytime sparkle attempt...
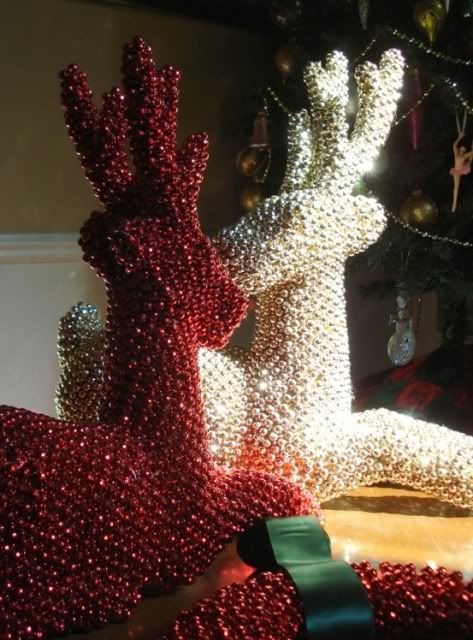
lights on dim...very dim...
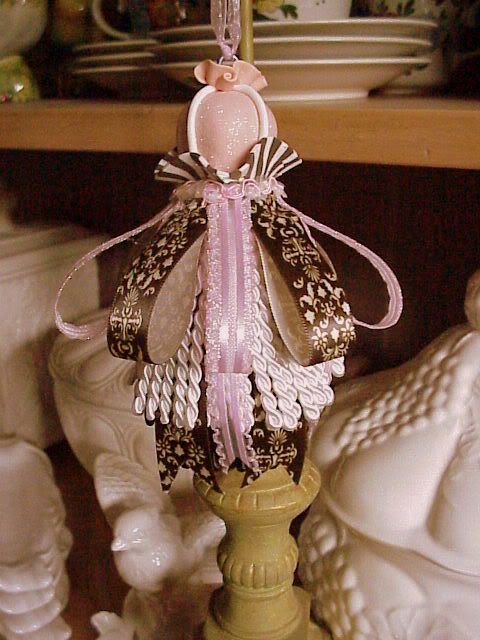
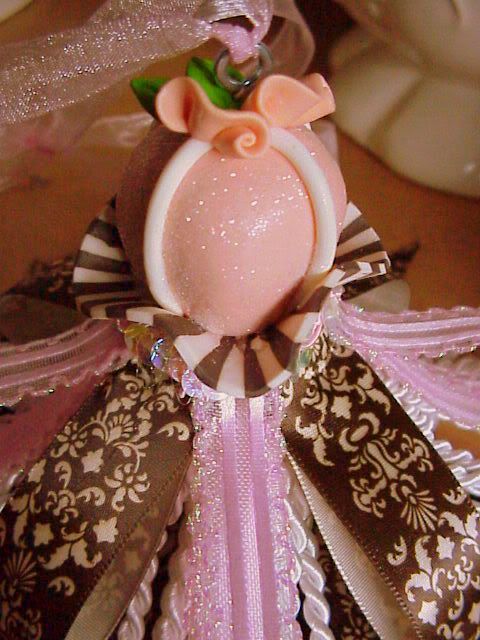
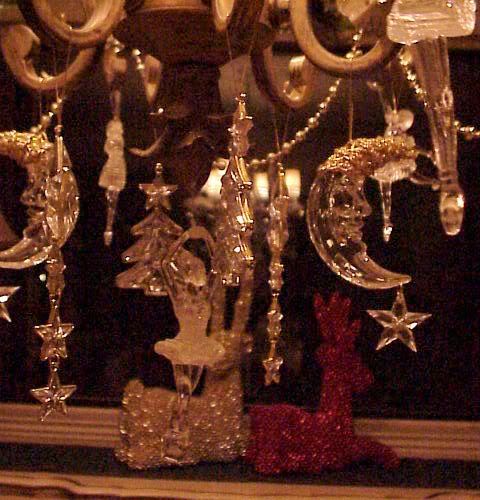
in this next photo, you can see them in the lower right corner sparkling away! (I was taking photos of my chandelier I decorated for the holidays for another post)
before and after...
There you have it! Good luck and be sure to show me your fabulous holiday beaded reindeer! If you have any questions, please don't hesitate to contact me @ enchantedrosestudio@yahoo.com!
Thanks so much for visiting me! I love reading your comments and suggestions! I'm going to grab a cuppa and will be over to view your post!
Linking with the following fabulous hosts:
Funky Junk Interiors
Beverly @ How Sweet The Sound
DIY Show Off ~ DIY Holiday Highlights #5
Susan @ Between Naps on the Porch ~ 48th Metamorphosis Monday
Cheers!